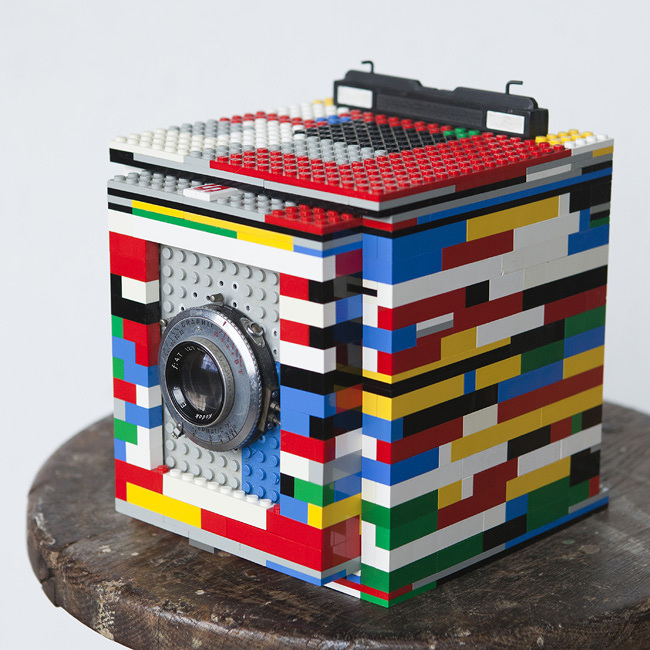
Legotron, Mark I — 4x5 Camera made of LEGO bricks
Here are the main posts I've made about creating and updating the Legotron camera.
Initial Post
Back in August of 2009, I blogged about having an idea of making a 4x5 out of LEGO bricks. Ten days later I'd made some serious progress on it. I started with trying to use the LEGO builder App on the computer to spec it out before I built it, but my mind wouldn't work like that, so I threw that out and borrowed a metric tonne of LEGOs from my friend Gregory. I made a couple of rounds of prototypes that proved to work well enough for my mind to think Hello World / proof of concept. Fast forward a bit and I got really busy and left the project sitting on a desk for just ages. A big hitch in the progress, other than being busy, was that I'd built just enough of the camera to realize I had to rebuild the main body to accommodate the film holder—a part I'd forgotten to plan for.
Fast forward something like a year, and I finally carved out time to restructure everything to fit the back and actually finish the super-low-budget "ground glass". This weekend marked the first time all the pieces came together! I took 4 frames on Sunday, two Monday, and processed them later that day. I got to scan them this morning and I am COMPLETELY FREAKING STOKED.
Here are the 4 frames I shot. I only took the time so far to edit the one of Ashley.

Ashley Johnson of A Bryan Photo.

Stephanie, our friend Joshua helping brew beer (as well as drinking one), and Joshua and Kristin's kids
I'll go into a bit of detail, for the nerds.
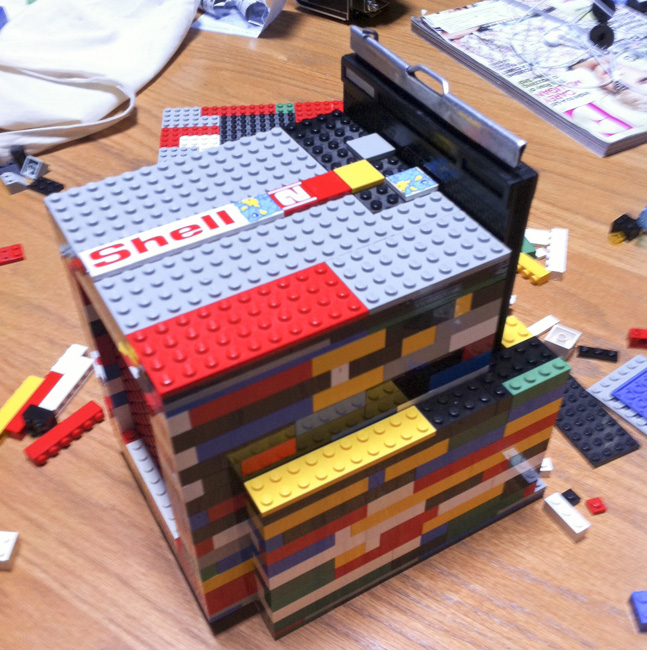
- I have no clue how many pieces are in this camera
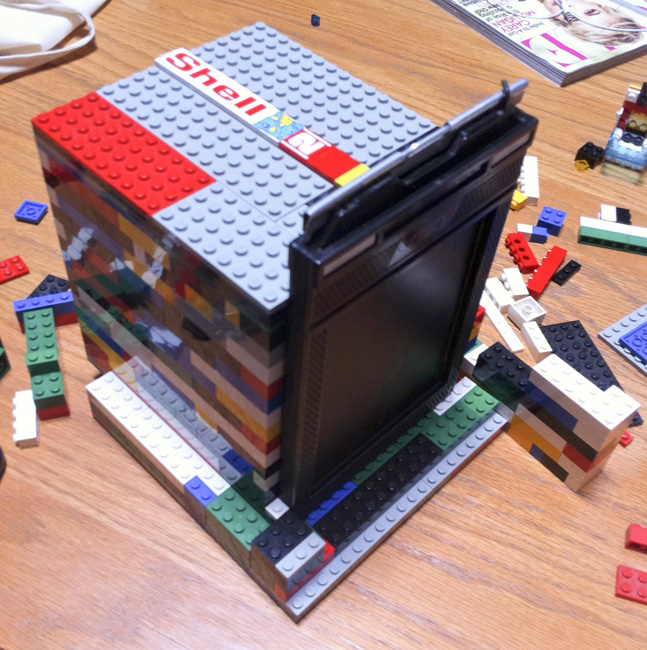
- It's dimensions are roughly 7"x6.5"x7"
- The main parts are a Main box, internal box, film holder/ground glass slot, lens board, lens.
- The lens is a 127mm ƒ4.7 I got on ebay for ~40 dollars
- The lensboard is two Plates deep and fits perfectly in the slot I built for it (though, I cut it down to one plate in the center to actually mount the lens).
- Focus is achieved by sliding the internal box forward and backward.
The focus range is limited to roughly 3 feet to about 18 inches. It's good for portrait, but certainly can't focus to infinity. Mark II (once I get to that) should have a way better focusing range. I'm planning on making a pinhole lens board too.
The ground glass is just plexi, sanded with various fine grits. It's held in place by a film holder that previously had light leaks, but now has the aluminum center cut out. The fit is tight and I ran a line of liquid nails too, just in case.
I have plans for the next version already. I have a lot more knowledge now and can probably design more accurately in the LEGO App. I'm also going to do a lot of measuring to make sure I have a better focus range (on this version, I just started building on a whim). I'm sure lots of other little tweaks will find their way into the Mark II, but for now, I've got to shoot this guy as much as I can! I'm working on a cohesive project theme to shoot around. I'm open to suggestions too.
Below are images of the process that stretched out way too long.

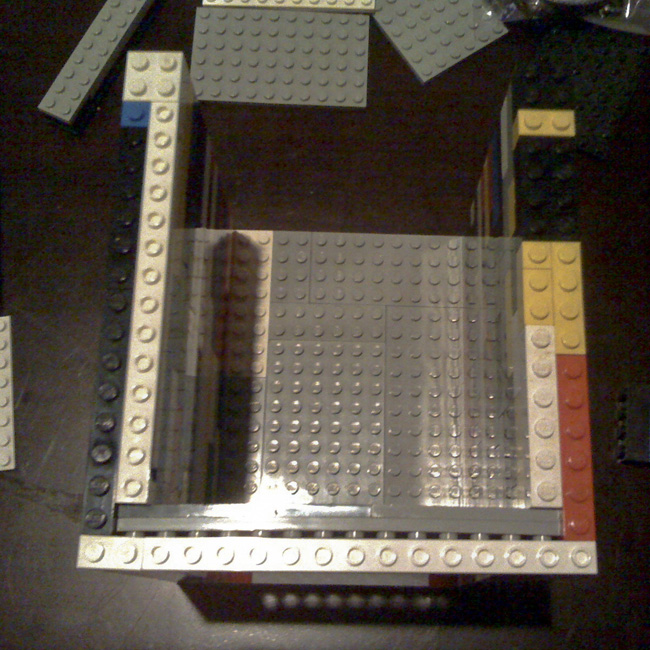
First picture of early structure, 8/27/09
The very next day the basic idea was done.
Clear shot of the lens board.
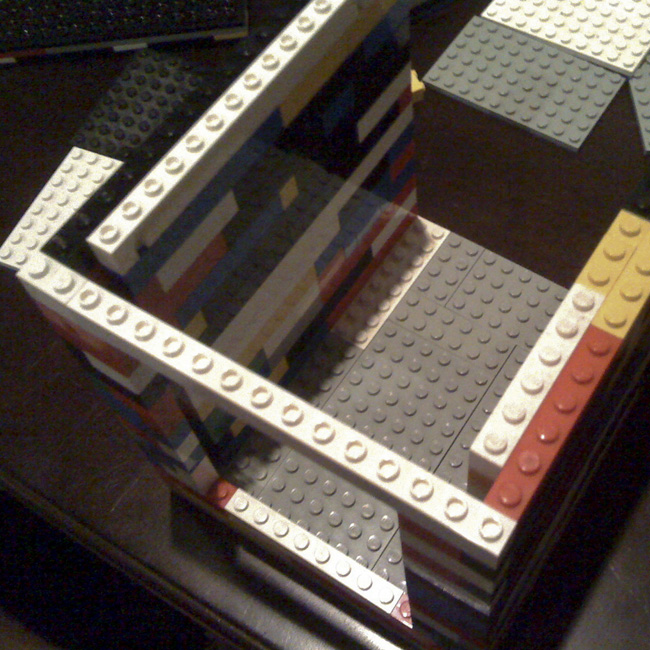


Still messing with it in September.

Didn't really make time to work on it for another 1.5 years. That's ridiculous. Actually, that's insane to me, that the idea is just now finished.

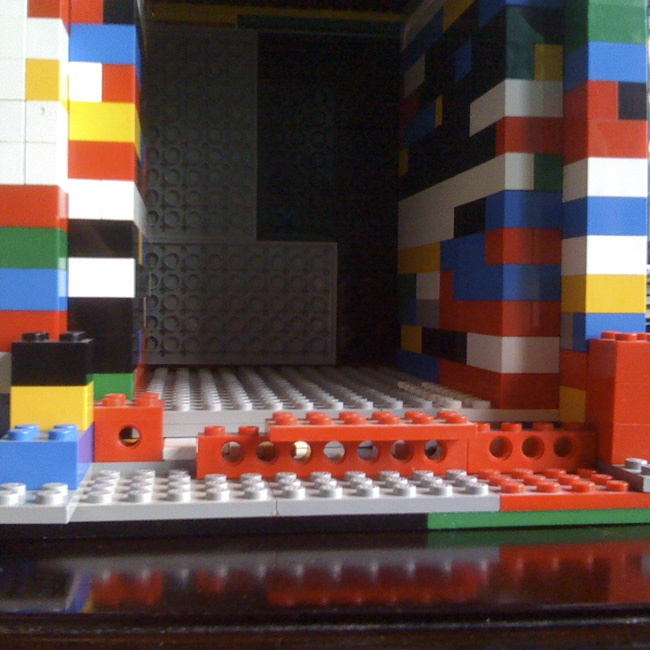
Before the lens board was modified and installed. I had to shave off the stubs on the front and the circle-y things on the back side of the plate to make it shallow enough for the retaining ring to fit on.


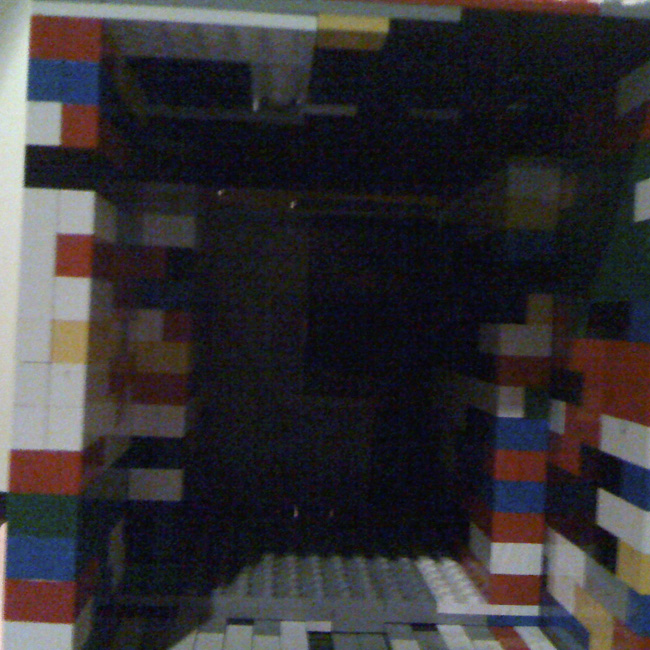
My friend House as seen through the ground glass this past weekend.

And the final product again.

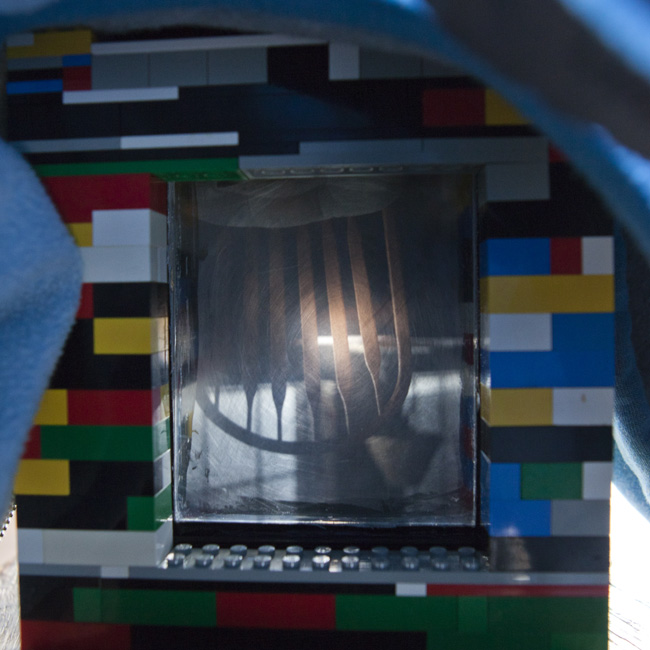
A chair, as seen through the ground glass.
Legotron Update

I cannot believe the response the Lego 4x5 has gotten! I'm so happy to see so many people around the world as excited as I am about something so silly. I can't thank everyone enough for the comments here on the blog and tumblr and blogs all over the place. I am so excited that other people are excited about creating and photography.
I spent last week shooting and developing and generally getting to know the Legotron a little better and it's even more fun that I'd realized. The thing is predictably unpredictable and it made for some interesting shooting.
Before I get into everything, I thought I'd take a minute to reply to a few of the comments, blogs, and forums I've seen that have been talking about the camera.
The biggest thing is that almost everyone gets it! It's for fun! I didn't build it to feel some grand sense of achievement, nor to create something technically outstanding or in any way superior to other 4x5s. I built it to see if I could! I made no measurements, other than seeing how many blocks/units wide the film holder was. I didn't figure out how long the main chambers should be to work with the 127mm lens I had. No effort was made to accomodate tilt/shift, although I thought about it briefly—I was mostly concerned with getting something made, instead of the perfectthing made. It was a whim (that got super side tracked).
That said, here are a few points, for clarity.
I realize I can throw another lens on it to get to infinity (pointed out by Tony), but I rather like the wide angle look for this, for now. The lack of infinity focus is just another casualty of arbitrary design.
And when I say design, I mean I just messed around for a bit until the basic idea was in place. I did try the lego builder application, but that lasted maybe 20 minutes. My preference is do build hands on, not on screen.
The camera that came out in the end was the fruit of tinkering, not extensive planning. I don't currently have plans to matte-black the inside, nor to tape off the major light leaks (and there are some great ones!), nor building them with all black bricks inside. I'm sure these would help the technical process of making a photo, but I love not knowing what I'm going to get. It's like multiplying the mysterious celebration of seeing a new roll of film for the first time and also not knowing what the camera is going to do!
The total days really working on it probably come out to something like 6 or 7, tinkering at night. It took ages to finish because it sat idle for over a year.
Other feedback I've seen has been a lot to the point of not being able to take it seriously or that I'm not a true Lego fan, or that, if I ever experienced a real large format camera with all the movements, I'd "give the toys back to the children." To which I say this:
It's not meant to be taken seriously. It's meant to have fun and to experiment and actually have fun with my profession and to be part of a larger conversation about making photographs and what is art and personal challenges. And I may not be an avid Lego nut, but man did I have fun! And I have plenty of experience with proper large format. But I didn't have experience with doing it myself with kids toys. And now I do.
There were plenty of questions asked, and I'll try to answer as many of them as I can with an upcoming video I'm going to try to shoot this week.
So, some photos. At the top were two sheets of another local photographer, Kelly Cummings.
Below is another shot of Kelly with a shot of photographer Bryan Johnson, husband of Ashley, from the first post.

I wanted to test it in a studio environment and in a long exposure shot. For all I know popping strobes at it would totally freak it out. Or in a long exposure just what the hell would happen.

That's Jason Hamric, yet another local photographer, on the left. Between three lights, there is about 1200 w/s of light happening in the camera's general area, a lot of which is coming in as wrap from the background. I was so excited to see image...it looks like he was shot on the corner of a wall instead of on a seamless. That would be a happy accident from having super reflective, shiny Lego bricks for walls.
Then the other dude is me, during a 4ish second exposure (it was on T, who knows how long it was really. I just guessed). Notice the massive, nebulous blob on my face. More reflections, I am guessing. Really couldn't tell you for sure.
And for a couple more shots as means of saying, yes, this camera can actually take a photo thats sort of normal, here is Josh and Winslow of the mental_floss art department.

If you made it this far, wow...way to go. I did some rambling.
I'm working on getting some of the questions answered...feel free to keep asking though!
Oh, ps, I made a Lego tripod mount. Haven't gotten to use it yet.


Legotron Mark 1.1

I finally took a few minutes to tweak the Legotron to make it focus to infinity. This may not sound like much but it really opens up what I can shoot with this camera.
Turns out I was really close to it being to infinity already, but I had to rebuild the back side of the inner chamber in order to get that much closer to the film plane. I'm shooting a 127mm lens which translates to exactly 5 inches which translates to exactly 16 LEGO units (dots). I rebuilt the inner box to be shorter and let it line up flush with the outer box...which is 16 dots deep (to the ground glass). I added little wings on each side to help bring the focus out from infinity and also notice this shot has the camera on the LEGO-based Tripod mount (which is just a bunch of flat pieces crammed together with a paddle drill bit hole in the bottom, then with one of those brass thread adapters screwed into the plastic as hard as I could get it).